Learn how to make the easy white mirror glaze to finish a beautiful mirror cake. This glaze is not rubbery, stays soft, and holds its shine. With this method you can recreate many pastries and desserts that look like they came from a professional pastry shop.
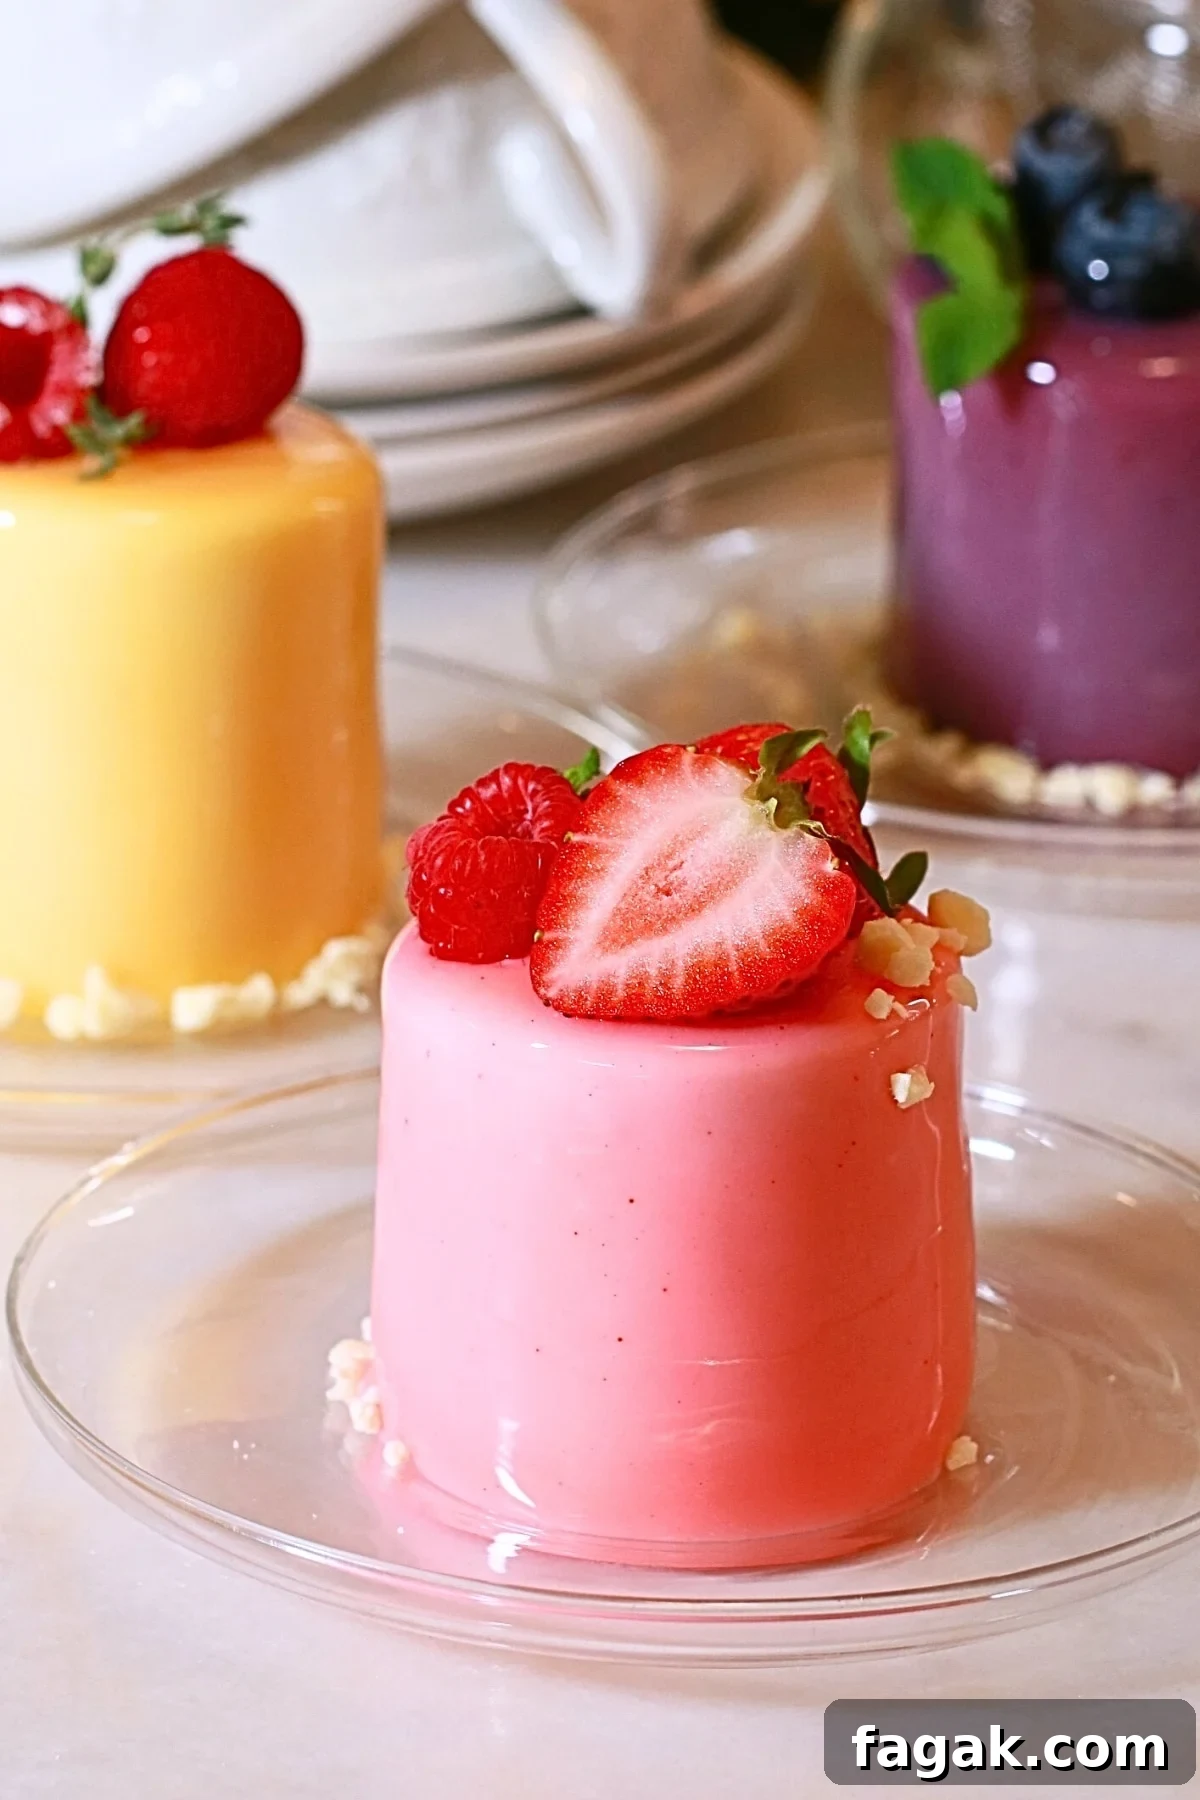
Earlier I shared a dark chocolate mirror glaze recipe; this post explains the white chocolate version. White mirror glaze has a neutral flavor that pairs beautifully with many fillings — dark chocolate mousse, fruit mousses like strawberry, no‑bake cheesecake, matcha desserts, and more. The combinations are nearly endless.
Once you learn this glaze, you can create colorful mirror cakes with different designs: mousse cakes, drip cakes, plated desserts, and other elegant treats.
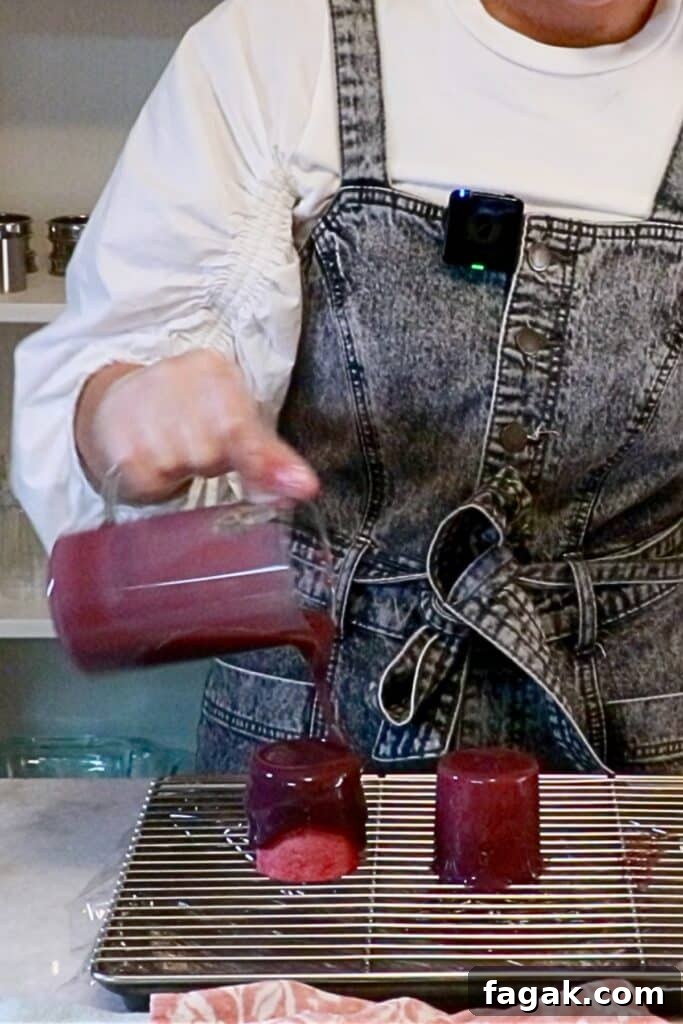
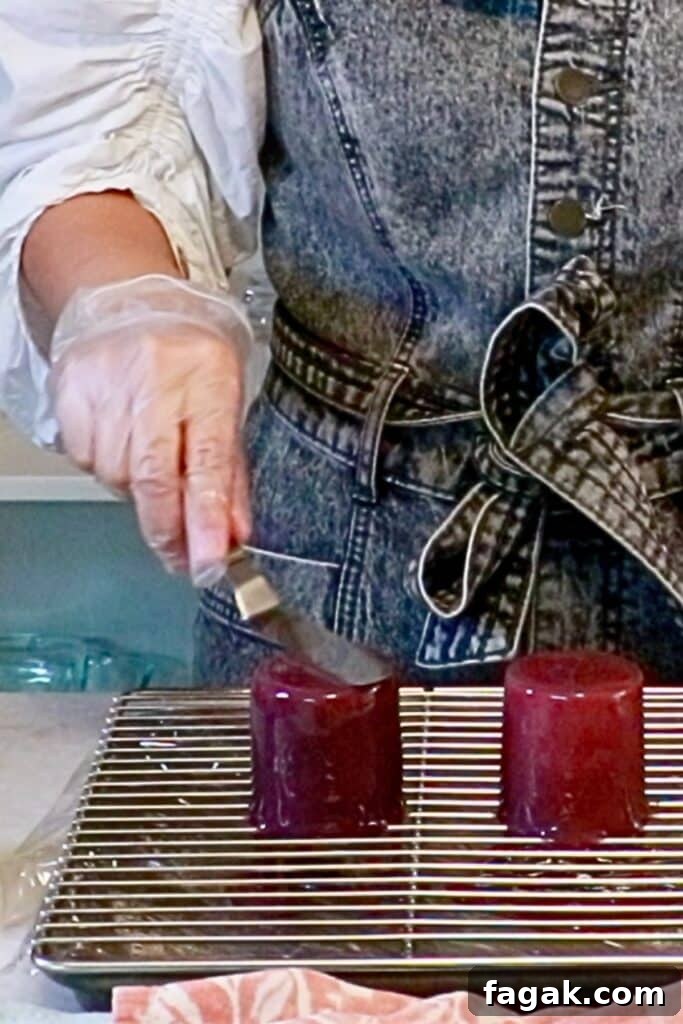
The glossy, flawless finish may look hard to achieve, but it’s surprisingly straightforward. In this guide I walk through the glaze recipe and pouring technique step by step. The trickiest part is pouring the glaze — temperature and motion matter — so I include specific tips for that process.
Mastering this glaze will broaden the range of designs you can make and give you more confidence as a baker or pastry chef.
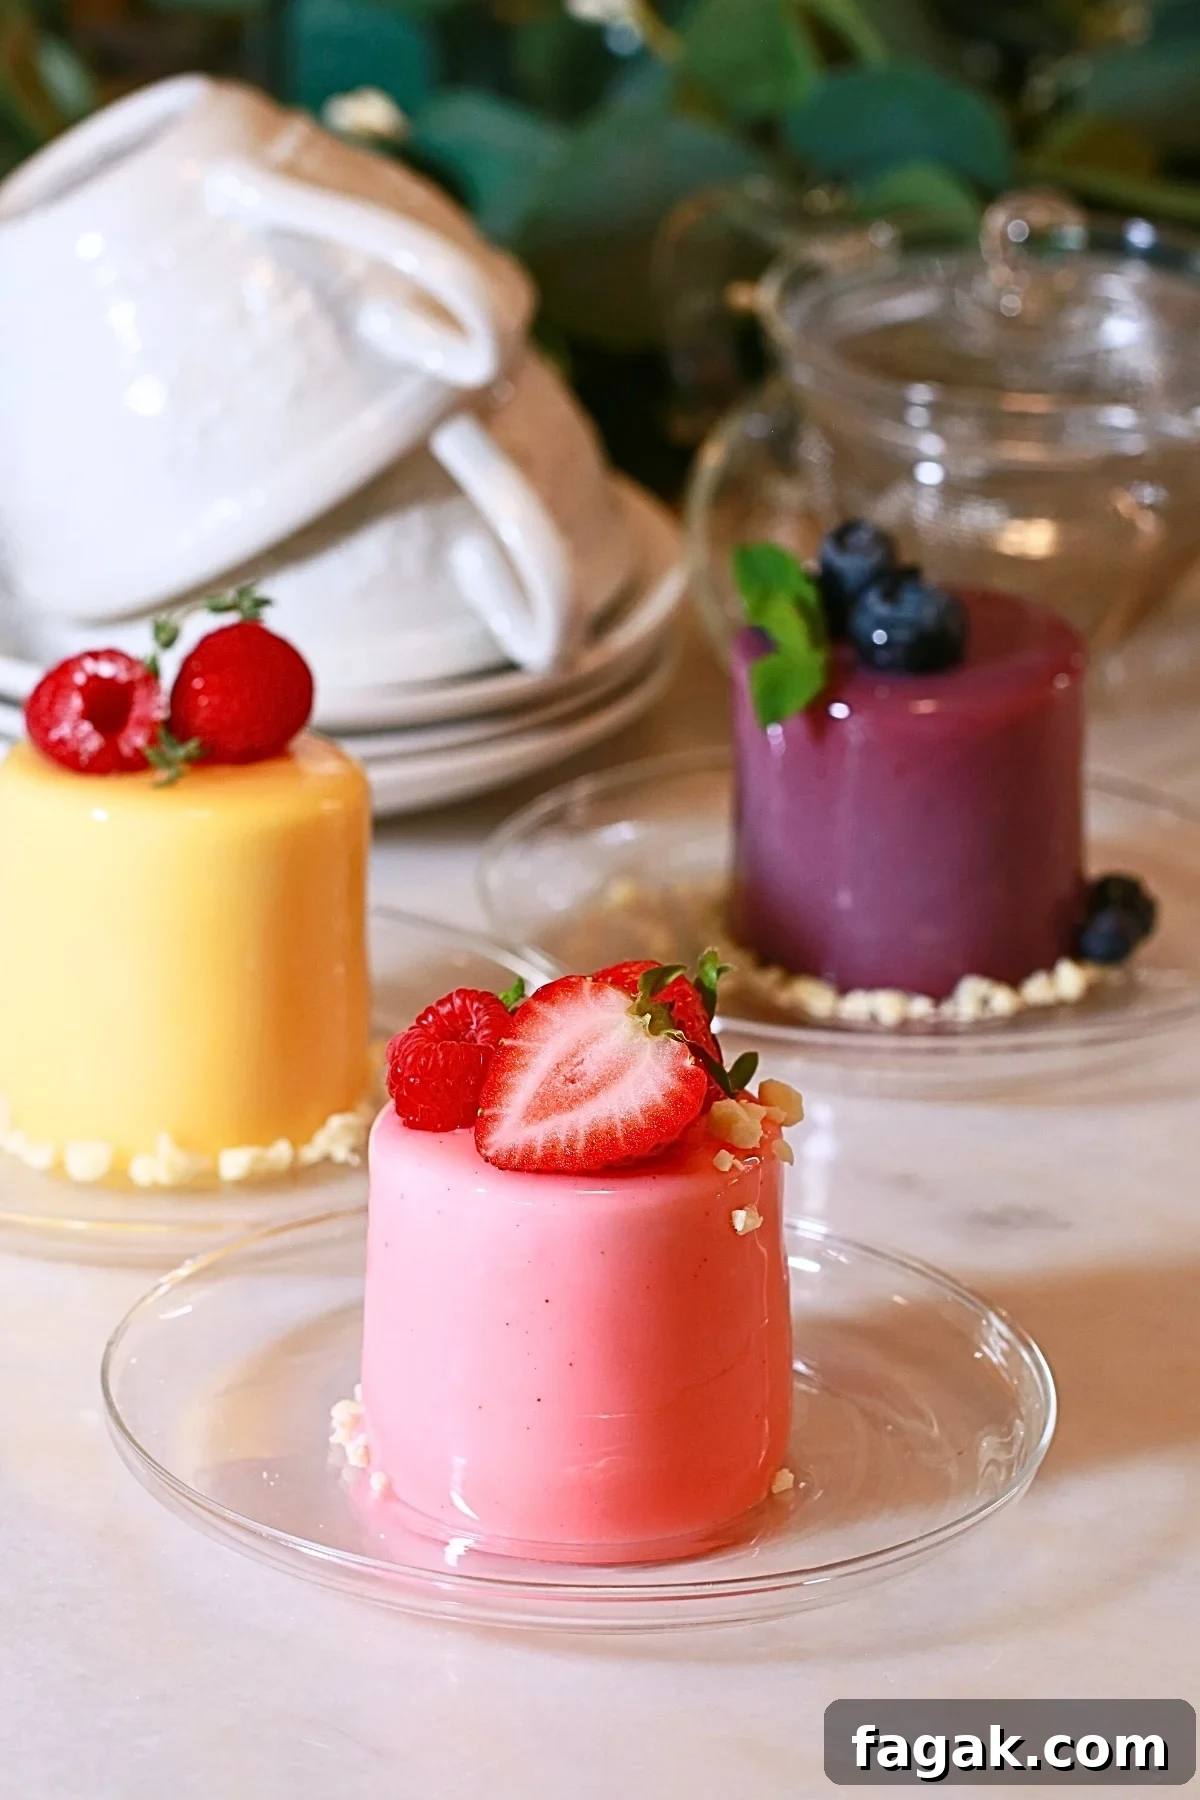
Why You’ll Love This Recipe
- Simple ingredients: Only six main ingredients (water, sugar, glucose or corn syrup, condensed milk, gelatin, and white chocolate) and five basic steps.
- Soft texture: This glaze remains soft and pleasant to eat, even when chilled — not rubbery like some versions.
- Long-lasting shine: The glaze stays glossy for days when stored in the fridge, making it ideal for special occasion cakes.
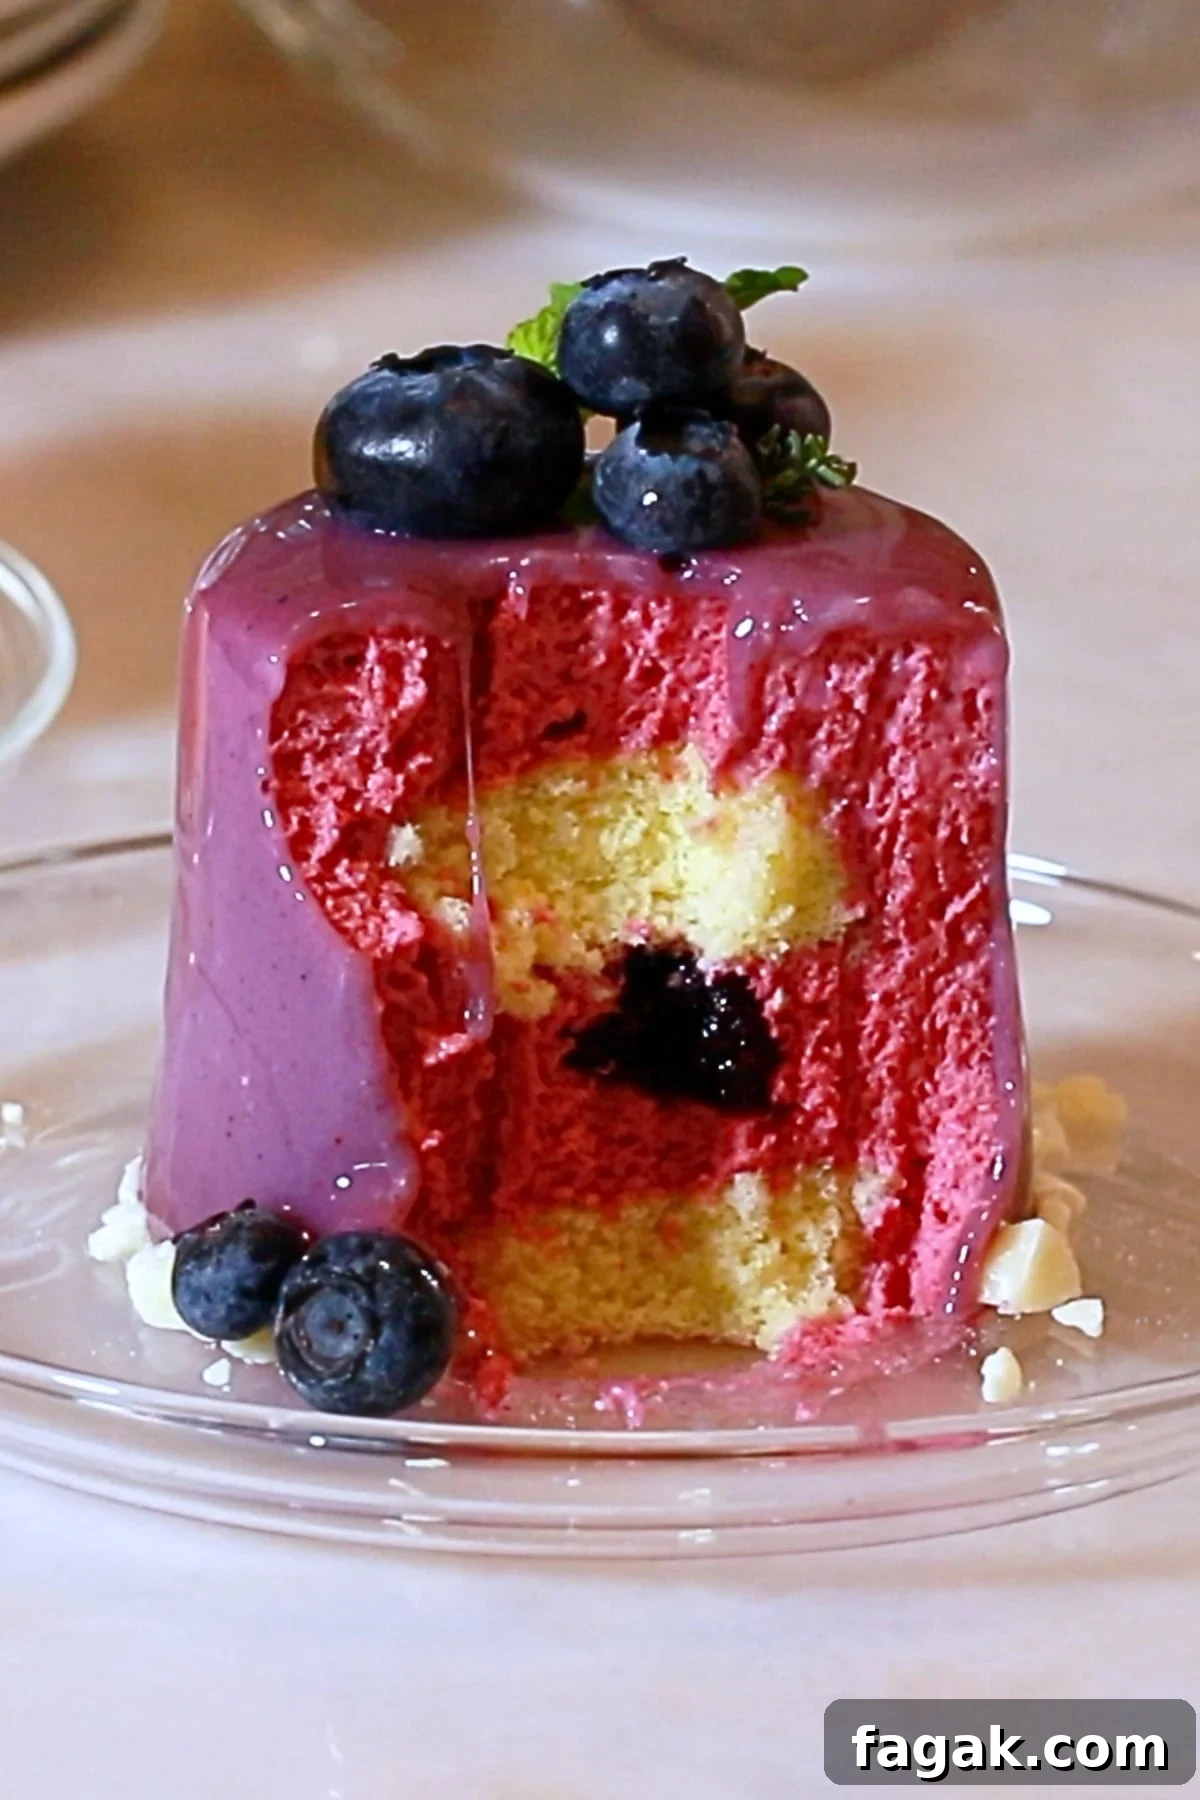
9 Tips For A Perfect Mirror Glaze Cake
1. Use the right gelatin
Gelatin determines how firm the glaze sets. Check the bloom number on the package: higher bloom = firmer set; lower bloom = softer set. For this recipe, aim for gelatin with bloom around 225–230. If using a different bloom, adjust the quantity accordingly.
2. Bloom the gelatin properly
Hydrate the gelatin in icy-cold water until fully swollen before adding it to hot liquid. Under-hydrated gelatin can lead to a loose glaze.
3. Add gelatin to hot liquid
Add the bloomed gelatin while the syrup is still hot so it dissolves completely. Stir and check to make sure no pieces remain.
4. Use good-quality white chocolate
Higher-quality couverture white chocolate improves flavor and texture. If possible, use a reputable brand for the best results.
5. Use an immersion blender
Use an immersion blender to emulsify the mixture and fully incorporate any remaining chocolate bits. It also helps reduce small bubbles in the glaze.
6. Freeze the cake completely
A frozen cake takes the glaze better than a merely chilled cake. Remove the mold only after the cake is fully frozen to avoid deforming the shape.
7. Glaze temperature matters
Glaze temperature controls coverage and surface finish. If it’s too warm, the layer will be thin; if too cool, the glaze gets thick and uneven. Aim for about 86–95°F (30–35°C). Around 91°F (33°C) often works well. Use a digital thermometer for accuracy.
8. Mix gently while cooling
While the glaze cools to the target temperature, stir gently to avoid introducing air bubbles — vigorous mixing will create bubbles that mar the mirror finish.
9. Pour promptly
Have your tools and cake ready so you can pour as soon as the glaze reaches the desired temperature. If the glaze cools too much, gently reheat and check the temperature again.
Video: Demonstration Available
There is a step-by-step demonstration that shows all steps and techniques. Prepare the ingredients and follow along to see the full visual process.
Ingredients Overview
To make white chocolate mirror glaze, the core ingredients are: water, granulated sugar, glucose (or light corn syrup), sweetened condensed milk, unflavored gelatin (powder or sheets), and white chocolate. Gel food coloring is optional if you want vivid colors.
- Water: Thins the glaze to the right consistency.
- Sugar: Softens texture and acts as a preservative.
- Glucose or light corn syrup: Adds gloss and helps the glaze set smoothly.
- Sweetened condensed milk: Adds richness and body.
- Gelatin: The setting agent; bloom strength affects final texture.
- White chocolate: Use diced or chopped chocolate for even melting.
- Food coloring (optional): Gel colors give stronger hues with less product.
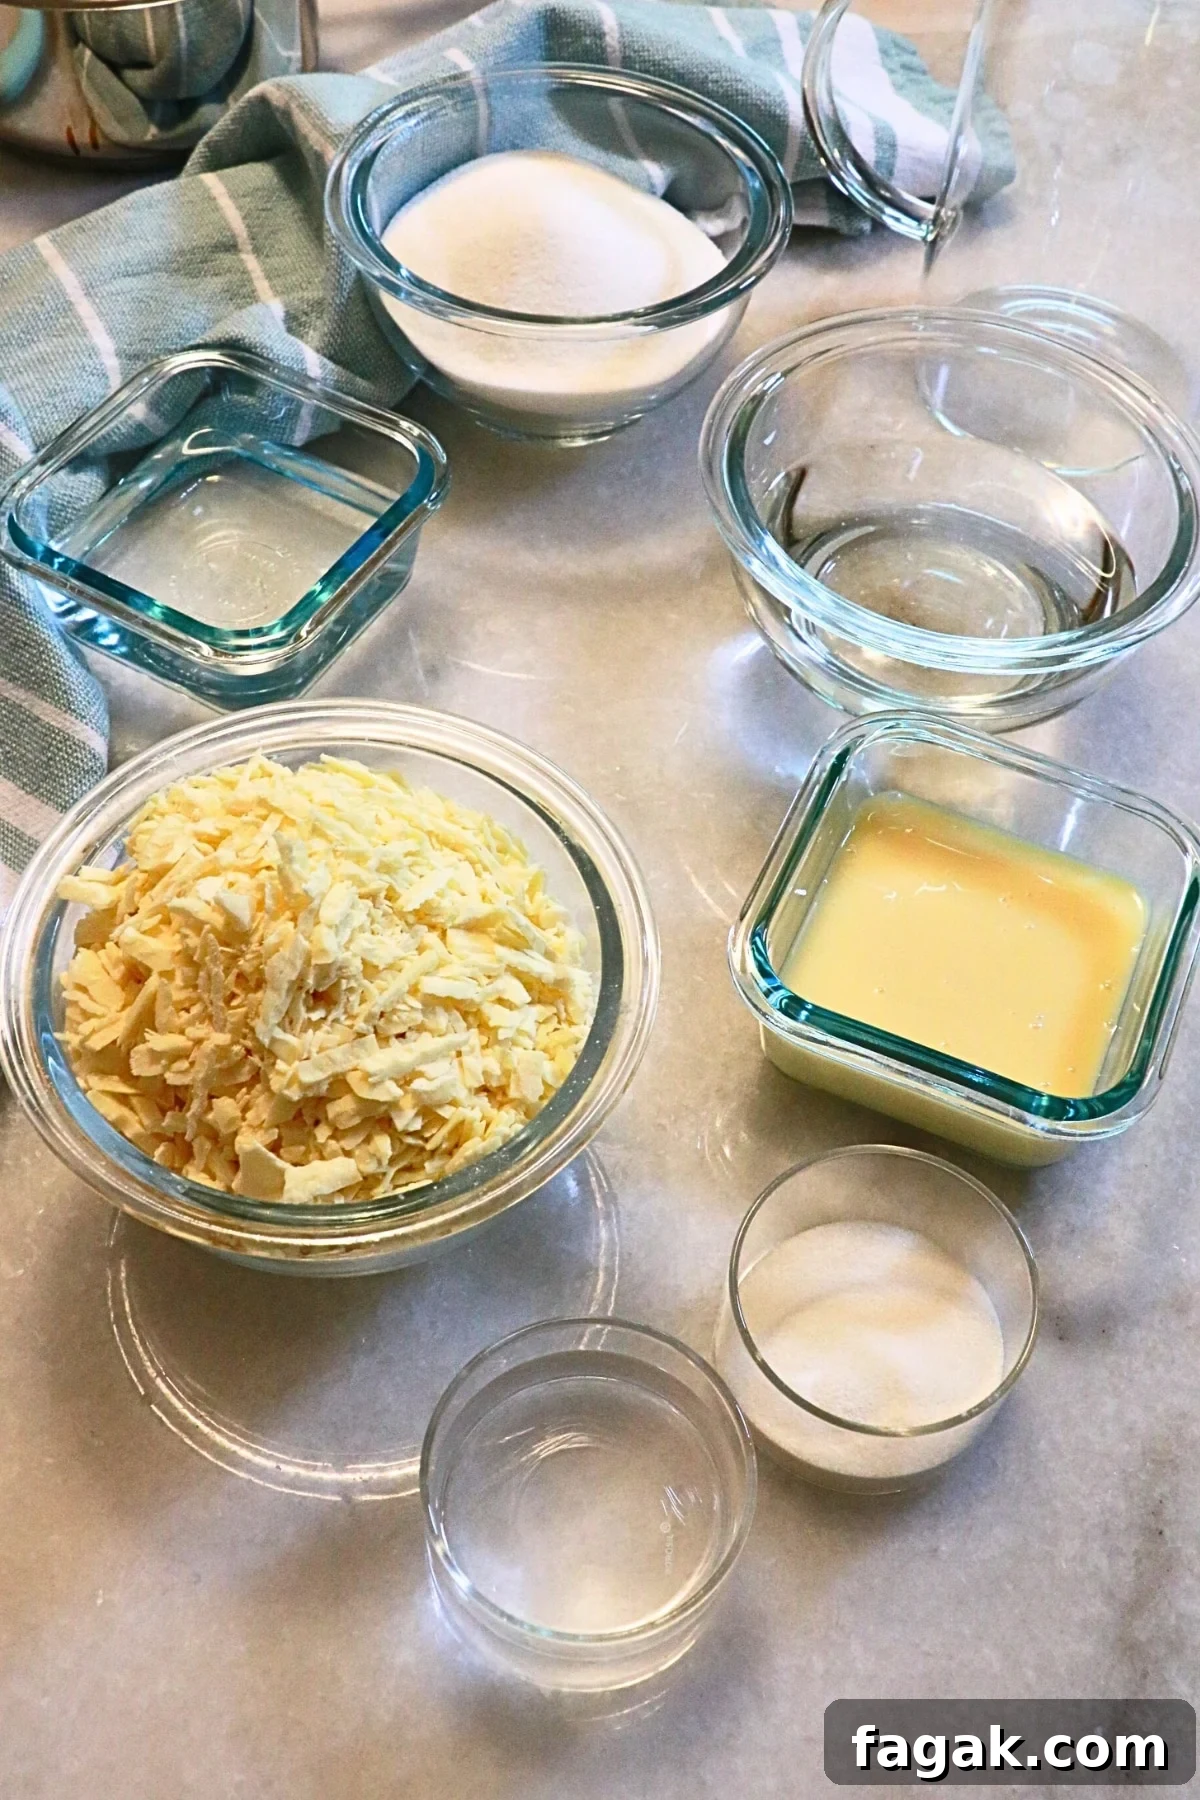
5 Steps To Make Mirror Glaze
1. Bloom gelatin
Gelatin powder: Sprinkle the gelatin over icy-cold water in a small bowl, mix, and let it sit about 10 minutes until fully hydrated. Gelatin sheets: soak in icy-cold water for about 10 minutes and then drain.
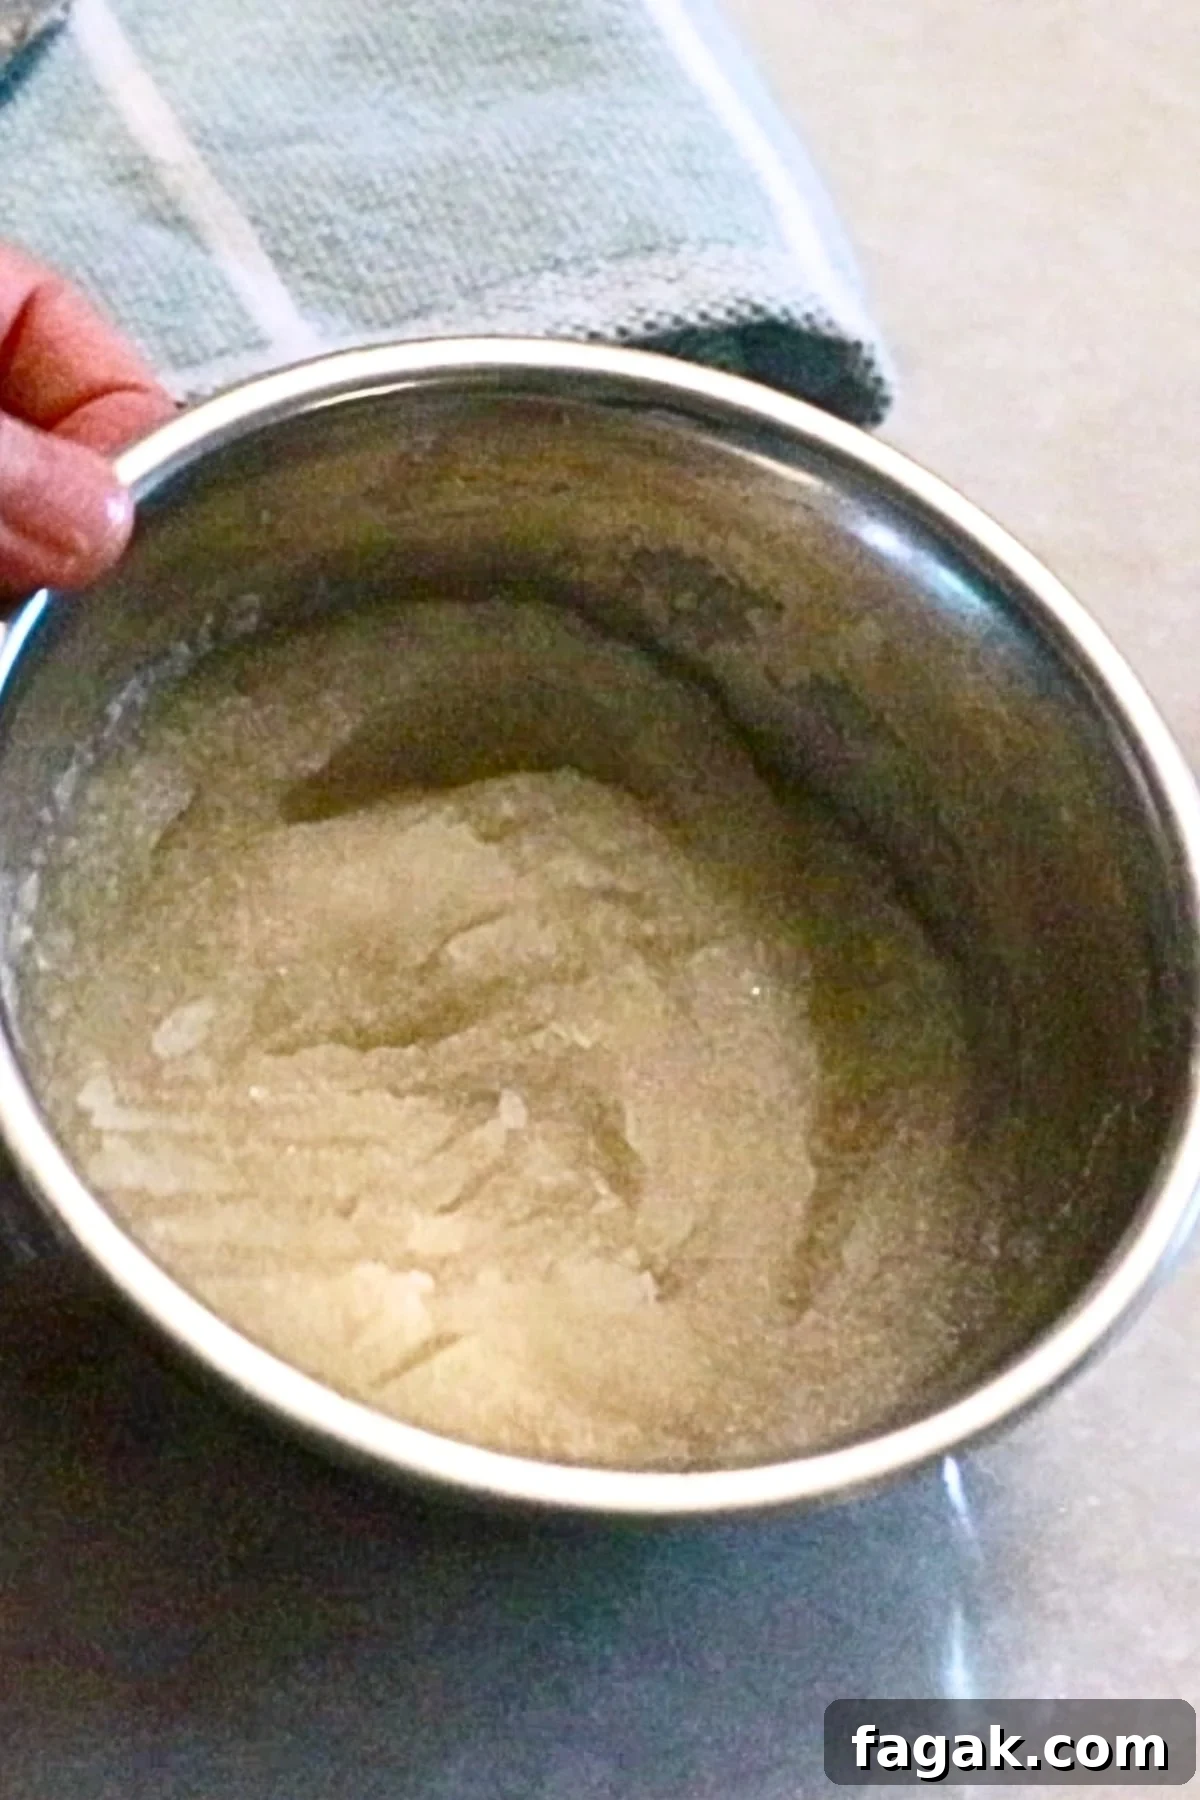
2. Heat water, sugar, and glucose
In a saucepan combine the water, granulated sugar, and glucose (or corn syrup). Heat over medium, stirring, and remove from heat once the mixture boils vigorously or reaches about 217ºF (103ºC).
3. Add condensed milk
Stir the sweetened condensed milk into the hot syrup until combined. This slightly cools the mixture before adding gelatin.
4. Add bloomed gelatin
Mix the bloomed gelatin into the hot liquid and stir until fully dissolved.
5. Combine with white chocolate and emulsify
Pour the hot mixture over diced white chocolate in a large bowl. Let sit briefly, then gently emulsify with an immersion blender until smooth. Be careful not to lift the blender too high to minimize bubbles. Add gel food coloring if desired.
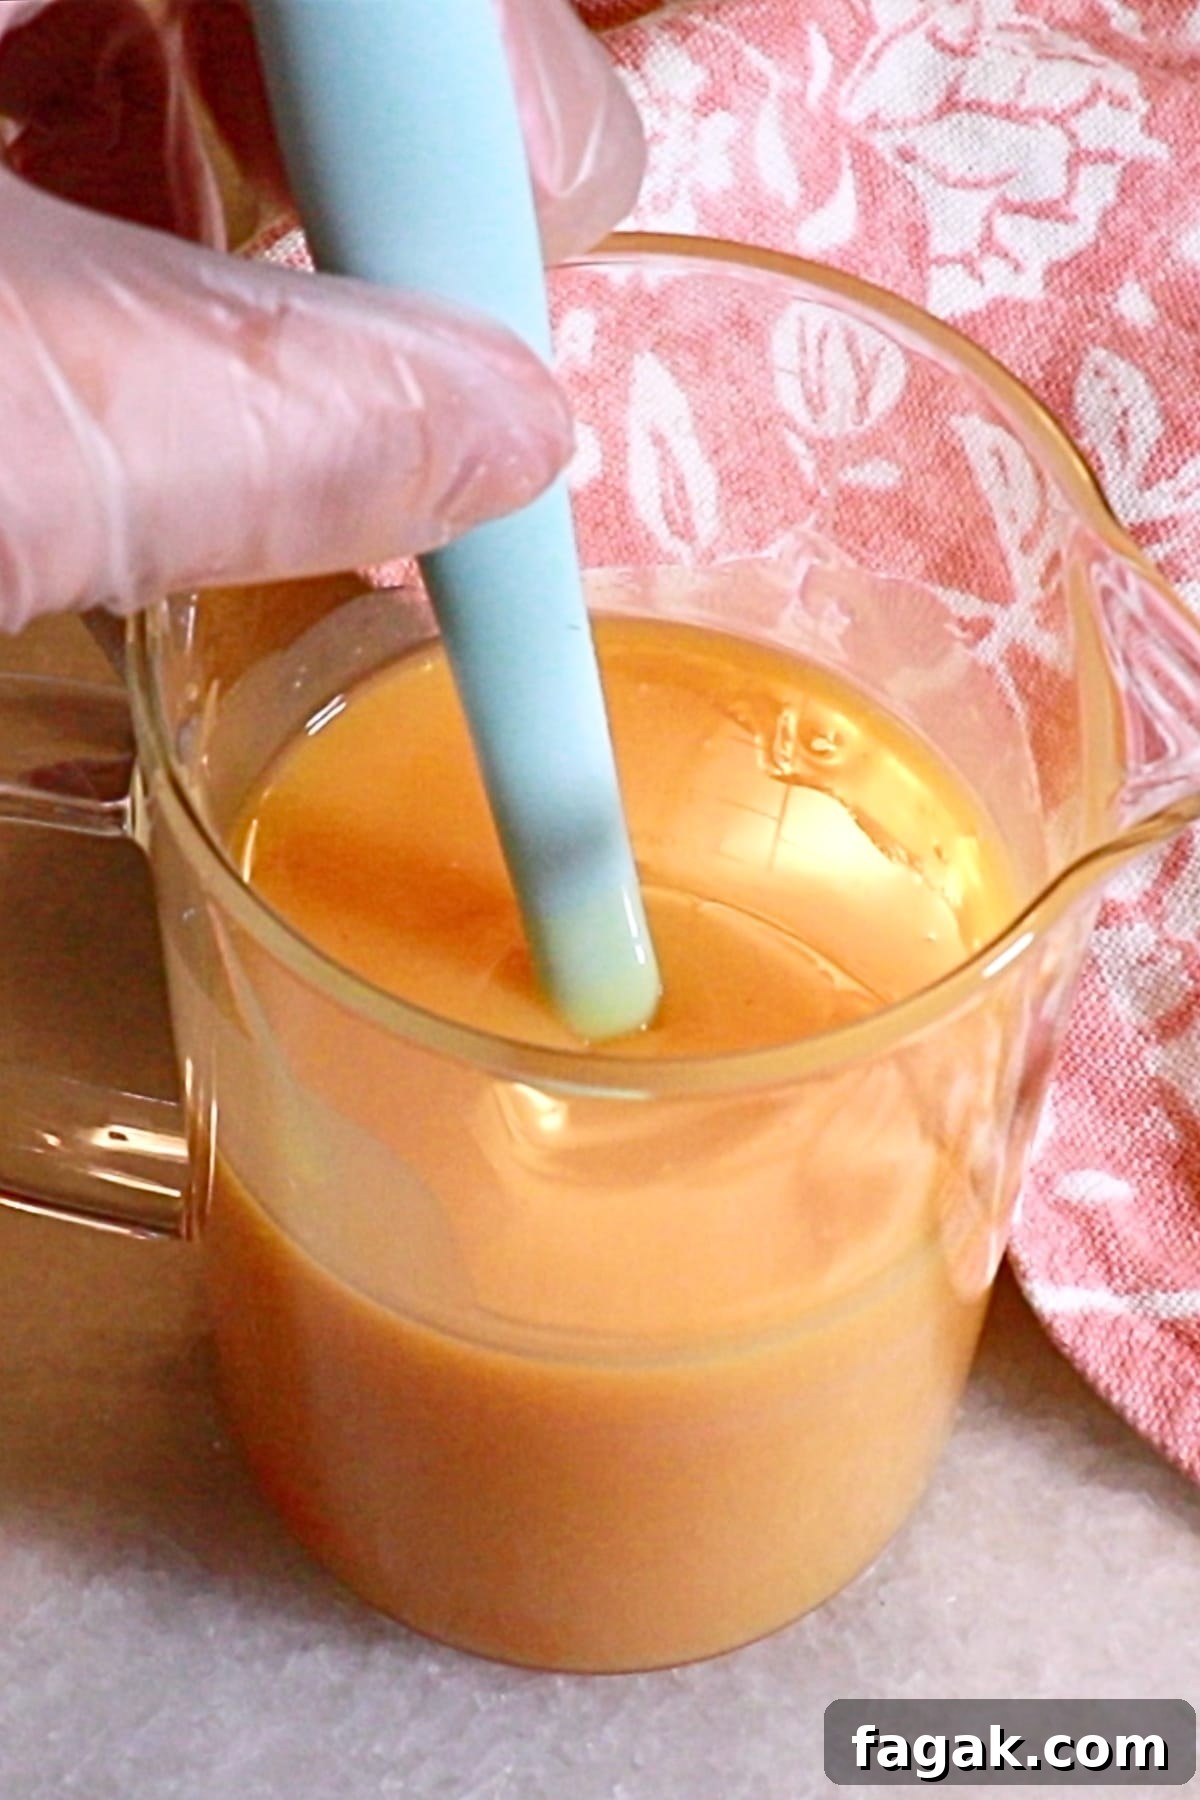
Once finished, allow the glaze to cool to the target temperature range and proceed to glaze a frozen cake.
How To Glaze A Mirror Cake
1. Prepare tools and cake
Set up a wire rack over a lined baking sheet, have an offset spatula ready, and remove the frozen cake from its mold just before glazing. Place a clean plate or board ready for transferring the finished cake.
2. Let the glaze cool
Cool the glaze to about 86–95ºF (30–35ºC). This lukewarm temperature is ideal for covering a frozen cake and producing an even, glossy surface.
3. Pour the glaze
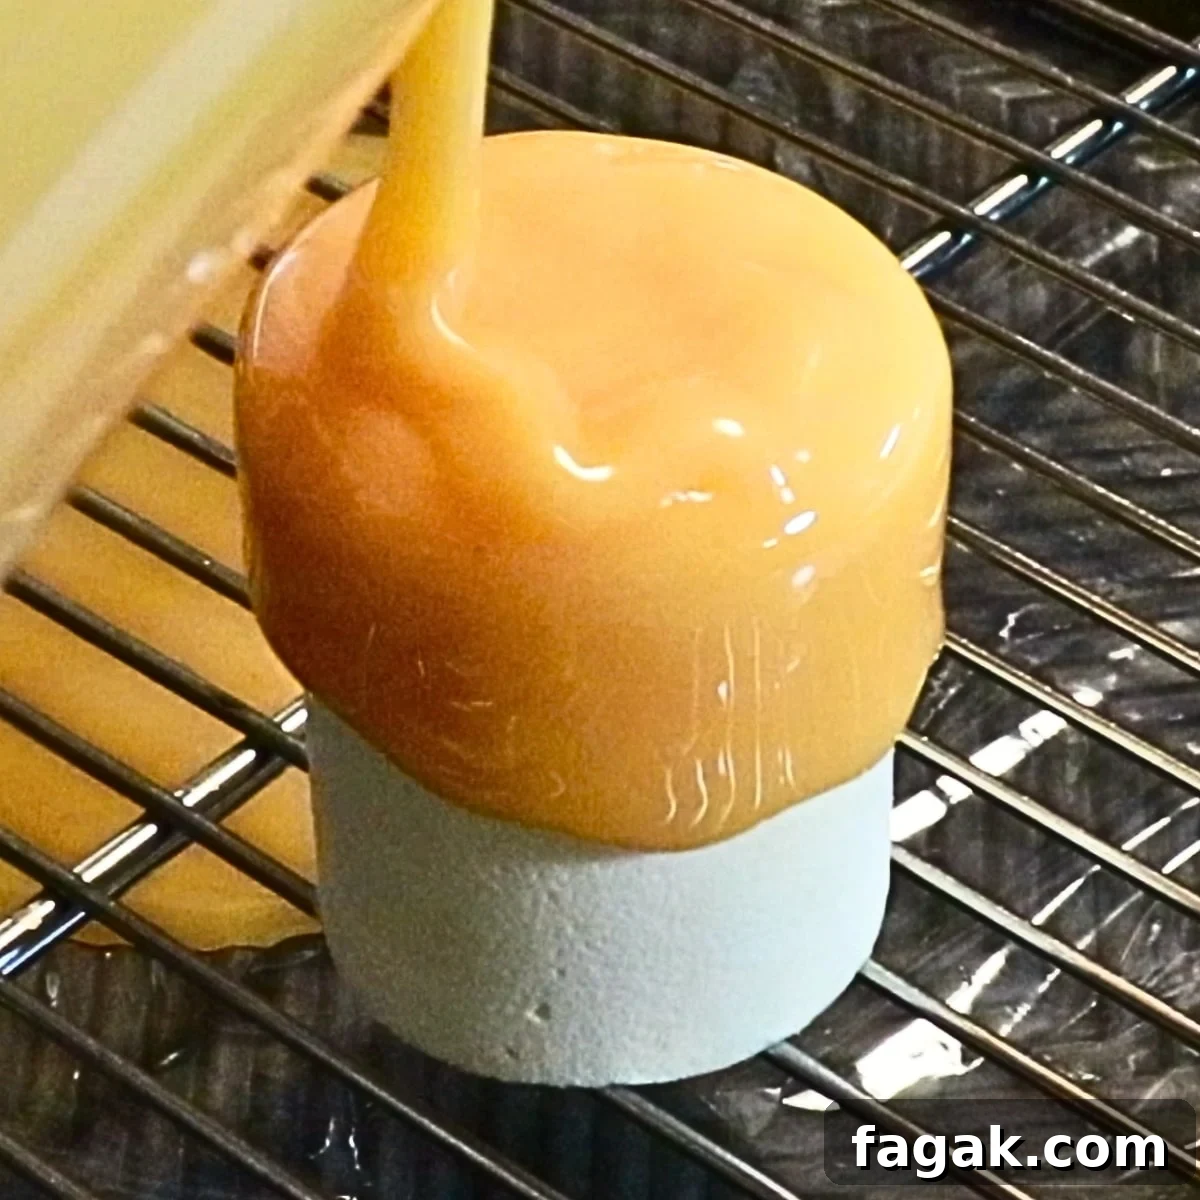
Once at temperature, pour a generous amount in a circular motion over the center of the cake so glaze flows down the sides. Immediately and gently smooth the surface with an offset spatula to remove excess and even the layer. Do not scrape deeply — a light touch is sufficient.
4. Transfer the cake
When dripping has slowed, lift the rack and transfer the cake to a clean tray. Use an offset spatula to trim excess glaze from the base for a sharp bottom edge, then move the cake onto a serving plate or cake board.
How To Store Mirror Glaze
Store glaze in an airtight container. In the refrigerator it will keep about a week; in the freezer it can last a few months. Reheat gently in a microwave or a warm water bath before reuse.
Leftover glaze
If the leftover glaze is uncontaminated (no mousse or crumbs), transfer it to a container with plastic wrap pressed on the surface to avoid skinning. Freeze or refrigerate for later use.
How to store the glazed cake
Keep glazed cakes in an airtight container to prevent the surface from drying. Store in the refrigerator and remove shortly before serving.
Variations
- Marbled finishes: Create galaxies or ocean themes by marbling colors together and adding edible metallic dust.
- Different shapes: Use silicone molds for hearts, domes, and other shapes for individual mirror-glazed desserts.
- Drip cakes: Use this glaze on buttercream cakes for shiny, soft drips that remain glossy when chilled.
- Plated desserts and choux: Apply glaze to plated components or use as a shiny coating for eclairs and cream puffs.
FAQ
One batch of this recipe is designed to cover an 8‑inch cake.
A single batch might cover a 10‑inch cake, but make a little extra if you are unsure. Leftover glaze freezes well.
White chocolate creates a naturally soft, pastel base. If you want paler or more opaque pastels, add a small amount of white food coloring or use gel colors sparingly.
At room temperature the gelatin will slowly loosen and the glaze can become runny, especially in warm conditions. Store glazed cakes in the fridge until serving.
Did you try the recipe?
Share your honest feedback in the comments below — I’d love to hear how it turned out for you and how you used it for special occasions.
Thank you! – Aya