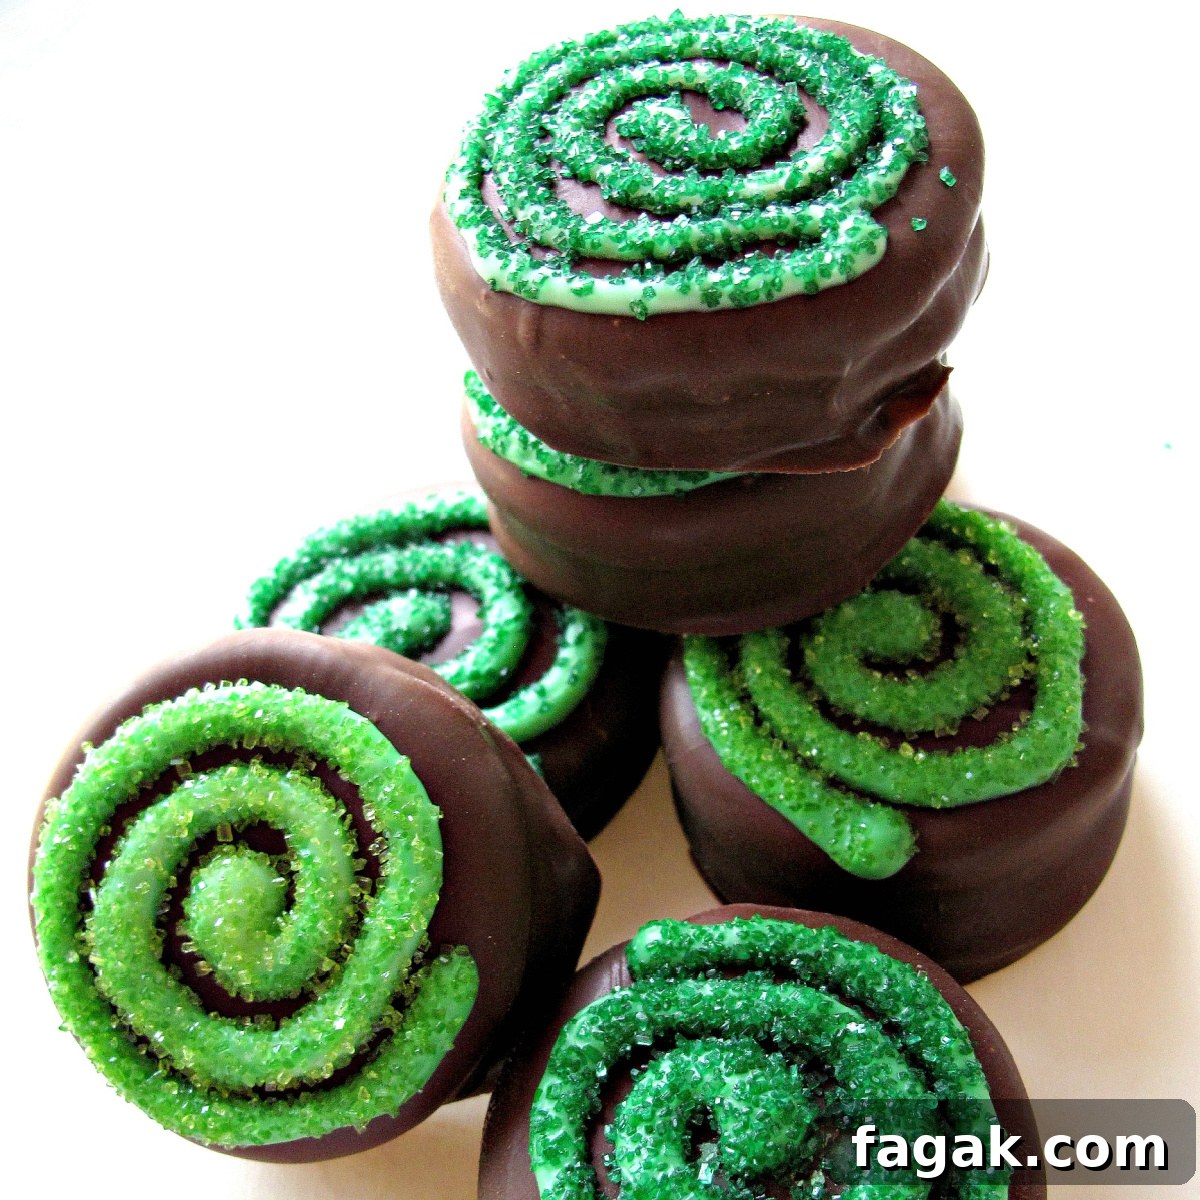
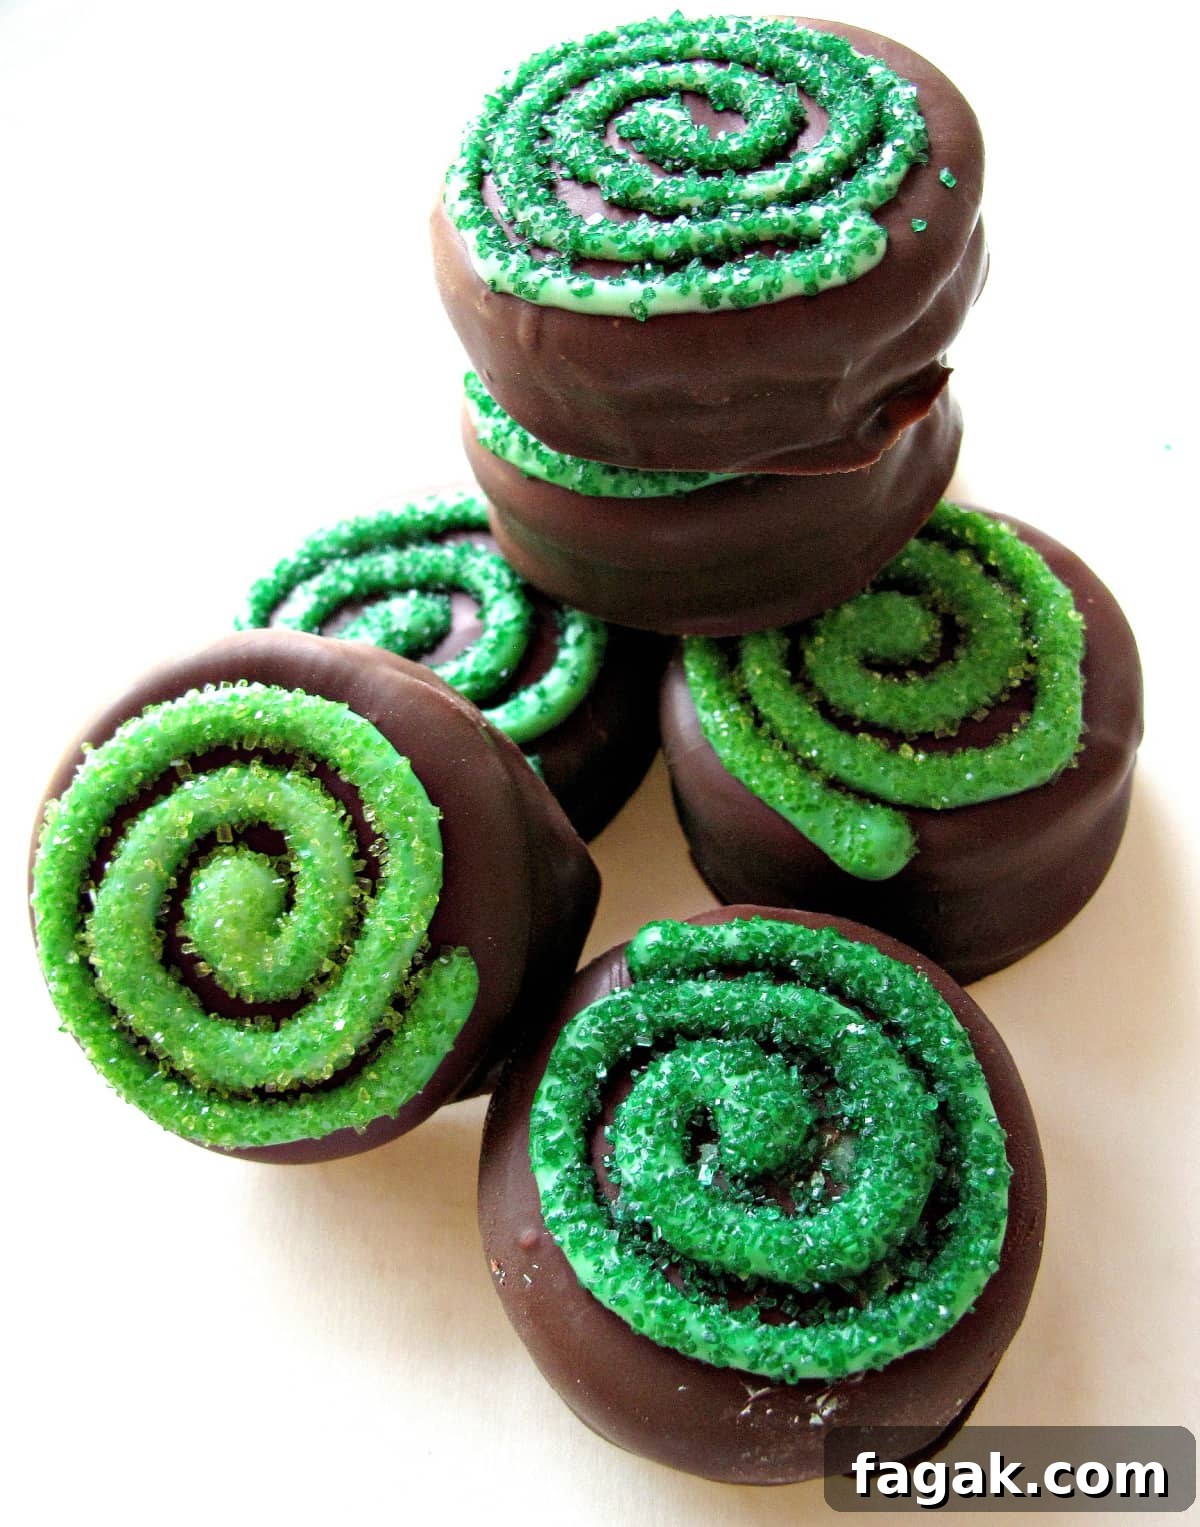
St. Patrick’s Day chocolate-covered Oreos, dusted with green decorating sugar, are simple to make and add a festive Irish touch. The Celtic swirl on top gives these chocolaty treats a whimsical, holiday-appropriate finish.
Why you’ll love this care package
Sending a care package is a small way to show support, and the reaction you get back can make it feel deeply worthwhile. A soldier who received one of these boxes sent a message that it lifted morale, was shared among his unit, and brought smiles when a taste of home arrived. That kind of feedback is exactly why packing thoughtful, themed treats matters.
Beyond the treats themselves, the decorated box and small themed extras help create a moment of cheer for someone far from home. Seasonal details and familiar flavors can make a care package feel like a real gift rather than just shipped supplies.
Care package contents
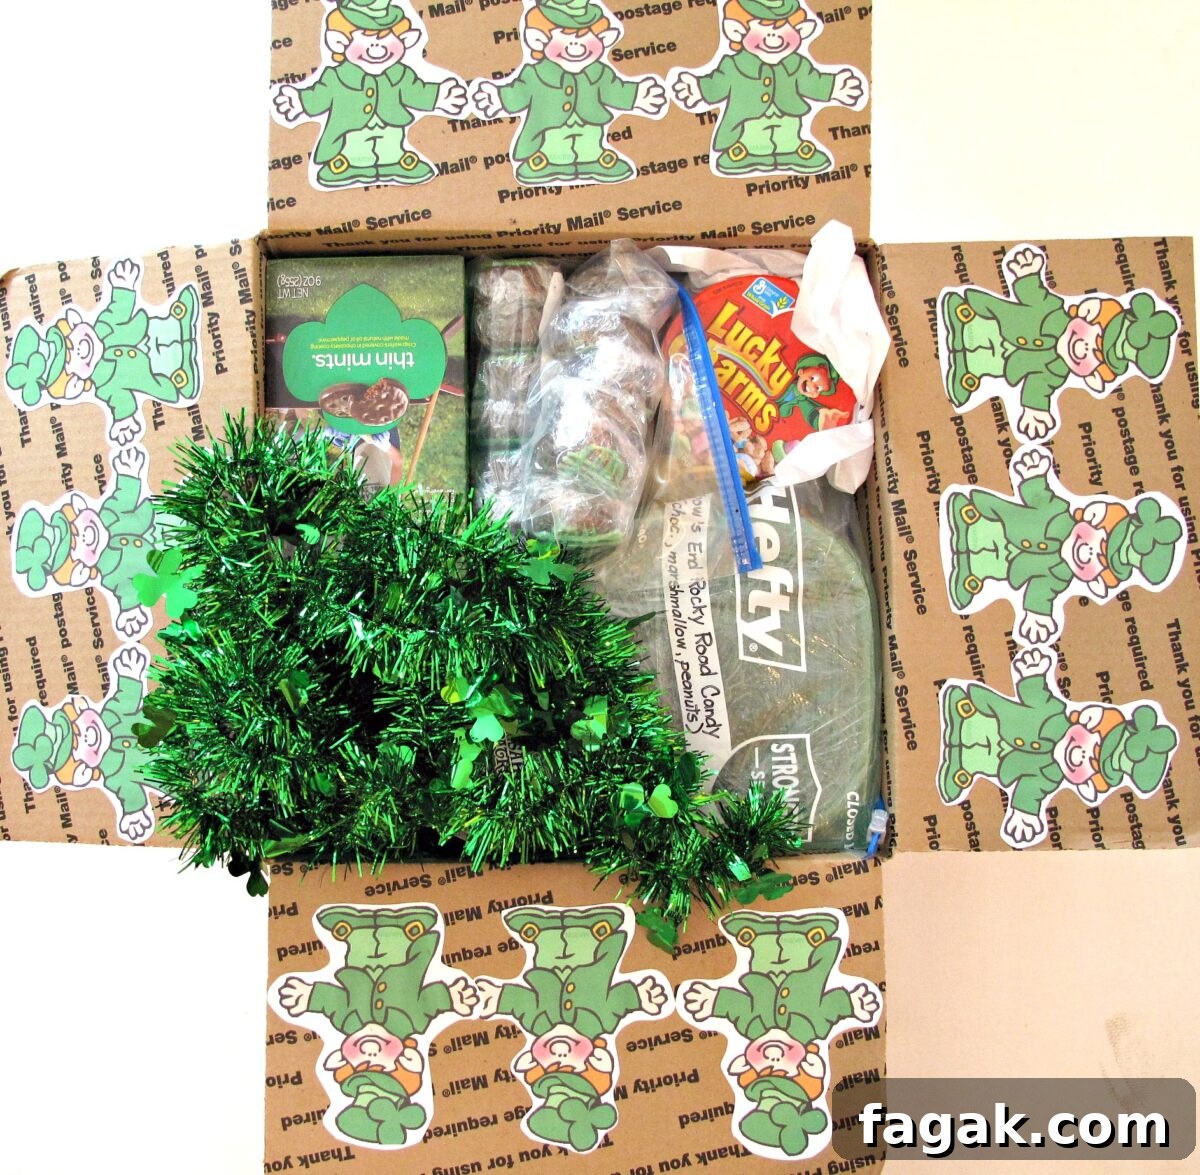
When I prepare a themed care package, I start by decorating the inside of the shipping box to set a cheerful tone. For holidays such as Christmas or birthdays I’ll line the flaps with matching wrapping paper. For occasions like Easter or St. Patrick’s Day I often cut themed shapes from colorful paper and glue them to the flaps. Simple clip art or printed cutouts also work well and keep the decoration lightweight for shipping.
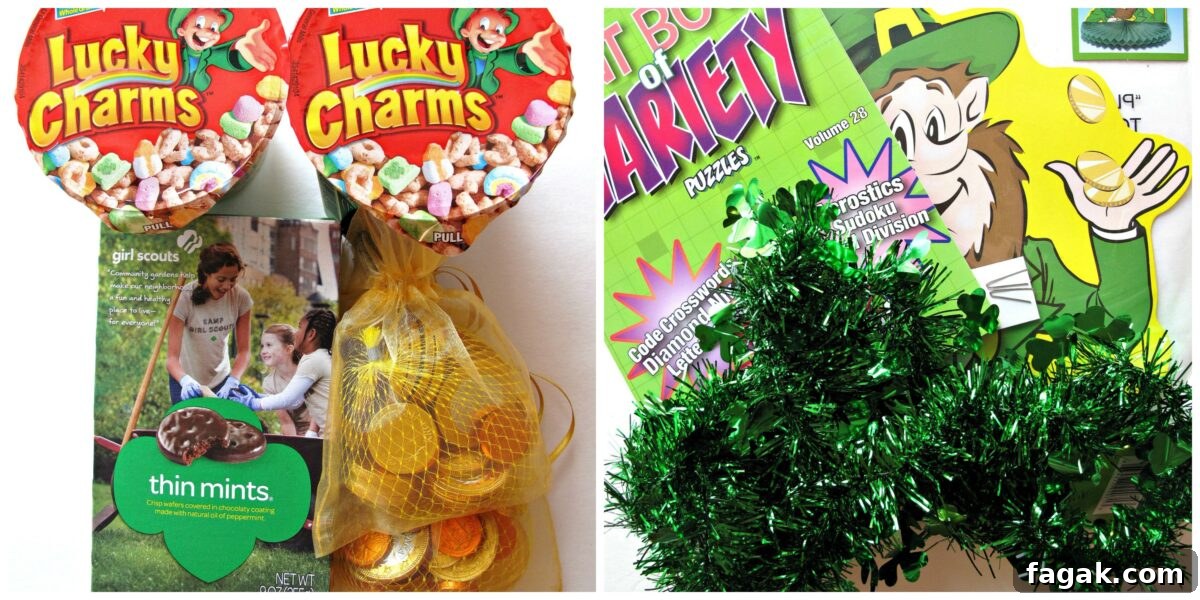
This St. Patrick’s Day box was packed with small, smile-inducing items: shamrock garland, paper leprechauns, a box of Lucky Charms cereal, gold-foil chocolate coins, puzzle books with green covers, and a green box of Thin Mints. The variety helps the box feel fun, familiar, and useful.
Decorated cookies
Rather than a traditional iced sugar cookie, this year I chose chocolate-coated Oreos decorated with tinted white chocolate. Because the soldier I was sending the package to enjoys chocolate-mint, I used a chocolate-mint sandwich cookie as the base and embellished it with a bright green spiral.
Decorating with melted white chocolate behaves differently from royal icing — it sets quickly — which means some piping ideas that work with icing don’t translate well. After a few attempts yielded blobs and messy lines, I settled on a simple Celtic spiral. The spiral is an ancient Celtic motif often associated with energy, growth, and perseverance. It’s a fitting and attractive symbol to use on a cookie intended to boost morale.
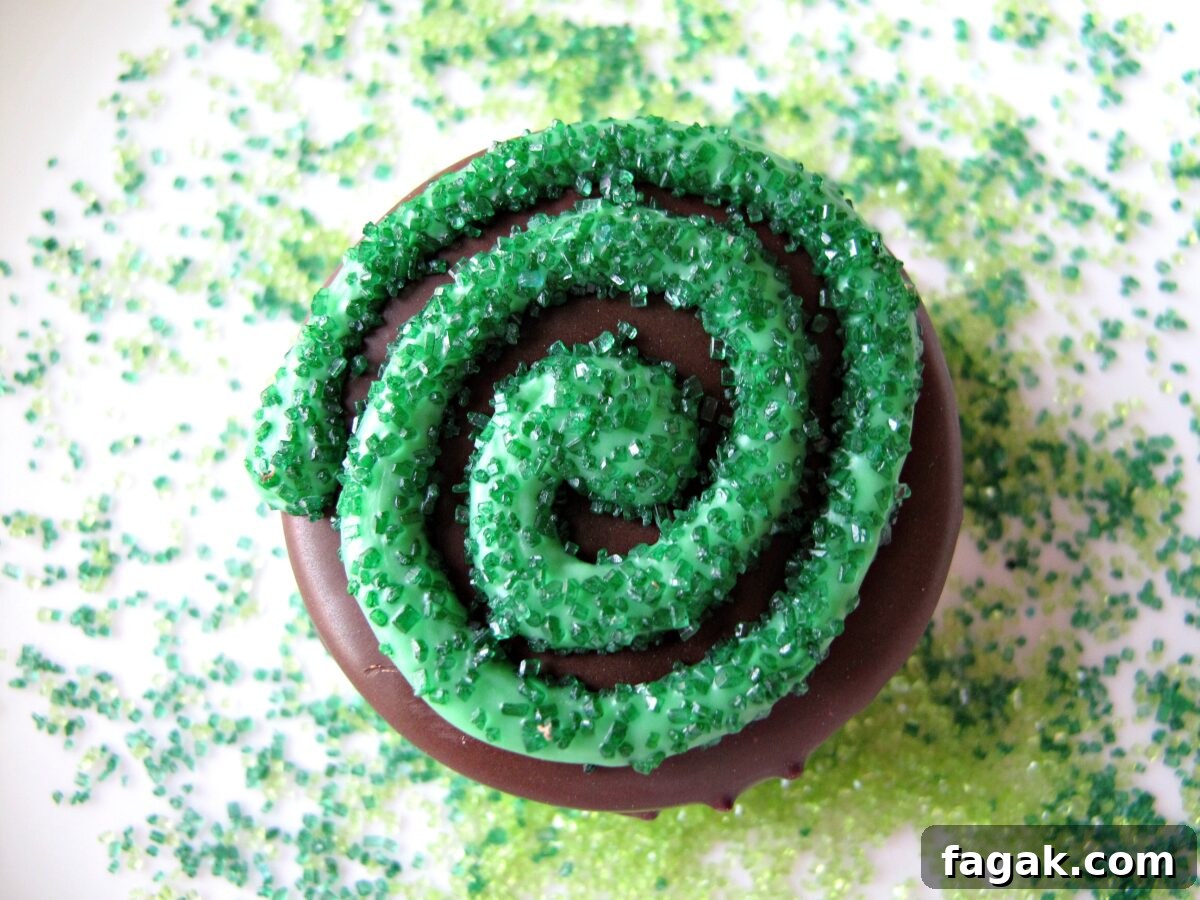
The finished swirl sparkles when you add decorating sugar immediately after piping because the white chocolate hardens fast. Changing the color of the tinted white chocolate and the sprinkles makes this technique versatile for other celebrations as well.

No complicated recipe is required for St. Patrick’s Day chocolate-covered Oreos. Below are clear, practical directions and packing tips to help the cookies arrive looking and tasting their best.

New recipe
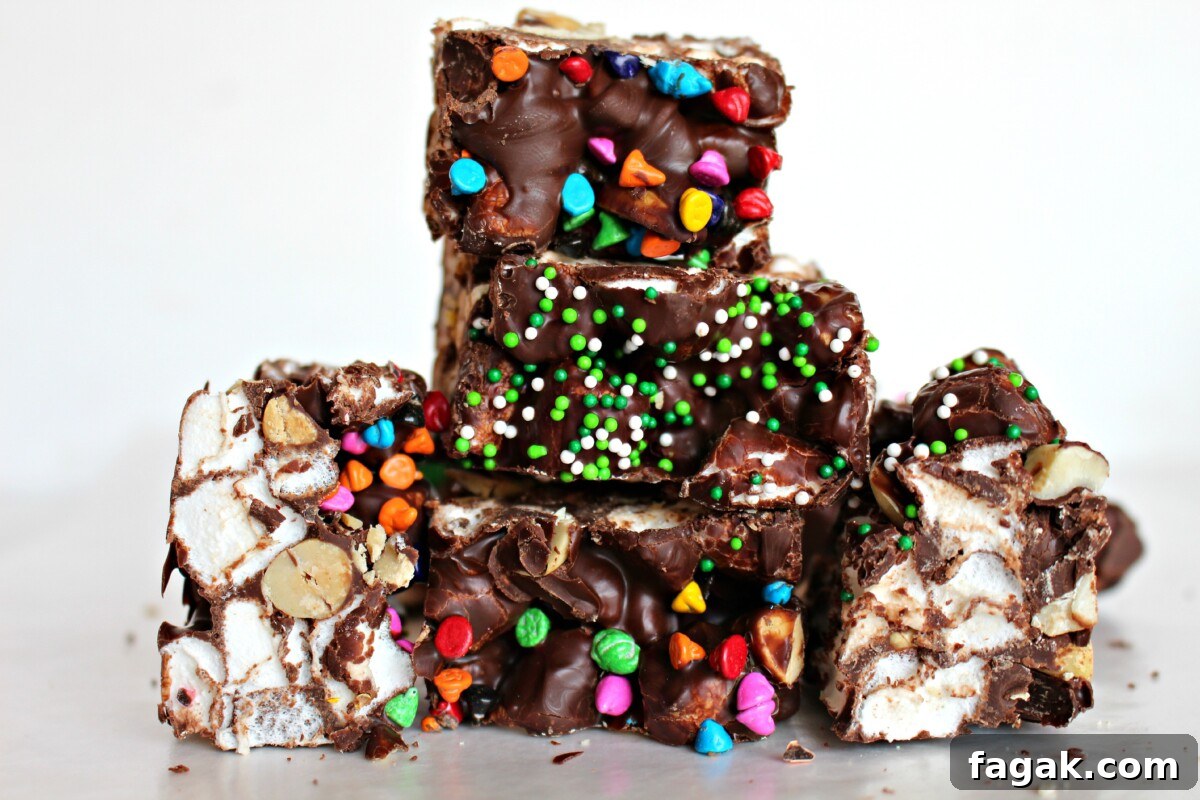
This care package also included a batch of Rainbow’s End Rocky Road candy — chocolate mixed with marshmallows and peanuts — finished with rainbow chips and green nonpareils to make it festive for St. Patrick’s Day. The candy was packed in plastic storage boxes in case of warm travel temperatures; the containers help protect the treat and provide an easy way to serve it if some melting occurs in transit.
More St. Patrick’s Day treats
Here are other ideas that pair well with chocolate-covered Oreos in a holiday box: chewy steel-cut oats cookies for a hearty snack; chocolate-mint biscotti for a long-lasting, dippable treat; and tea brack, a spiced Irish tea cake studded with raisins that travels well.
All of these treats are easy to personalize with green accents and small themed trinkets to create a cohesive gift that feels like a celebration.

St. Patrick’s Day Chocolate Covered Oreos
Ingredients
- 12 sandwich cookies (chocolate-mint works well)
- 2 cups melting chocolate (chocolate discs for dipping)
- 1/2 cup white melting chocolate (for decoration)
- Oil-based green candy coloring
- Green decorating sugar or nonpareil sprinkles
Instructions
- Line a cookie sheet or flat baking pan with wax paper. This will fit into the refrigerator later.
- Place the melting chocolate in a microwave-safe bowl with about 1 inch of room at the top. Melt at 50% power for 1 minute, stir, then continue at 15-second intervals until smooth.
- Drop a cookie into the melted chocolate. Using two forks, press the cookie into the chocolate and then flip it to coat the underside.
- Lift the coated cookie with a fork and tap gently to allow excess chocolate to drip back into the bowl. Place the cookie on the prepared sheet.
- After coating the cookies, chill the cookie sheet in the refrigerator for 10–15 minutes to set the coating. Chilling produces a slight surface shine versus leaving them at room temperature.
- Place the 1/2 cup of white melting chocolate in a small bowl and melt at 50% power in the microwave for 30 seconds. Stir and resume at 10-second intervals until smooth. Add about 10 drops of oil-based green candy coloring and stir until evenly colored.
- Spoon the tinted white chocolate into a small plastic sandwich bag and cut a very small corner off the bag. Pipe a spiral on each coated cookie. Immediately sprinkle green decorating sugar over each spiral—work quickly because the chocolate sets fast.
- When coating and decoration have hardened, wrap each cookie individually in plastic wrap and store in an airtight container at room temperature for up to two weeks.
Notes
Packing tips
- Pack the individually wrapped cookies closely in a ziplock bag or plastic storage container.
- If using a storage container, add crumpled tissue paper between the cookies and the lid to prevent any movement during shipping.
Nutrition (per serving)
Calories: 97 | Carbohydrates: 13 g | Protein: 1 g | Fat: 5 g | Saturated Fat: 2 g | Sodium: 62 mg | Sugar: 9 g